Twitter Konto hinzufügen und validieren
Mit Twitter Cards können Sie Ihre Tweets mit zusätzlichen Inhalten und Medien ausweiten. Dazu durchlaufen Sie folgende Schritte:
1. Twitter Benutzername hinzufügen
Zuerst müssen Sie Ihren Twitter Username bei Metro Publisher eingeben
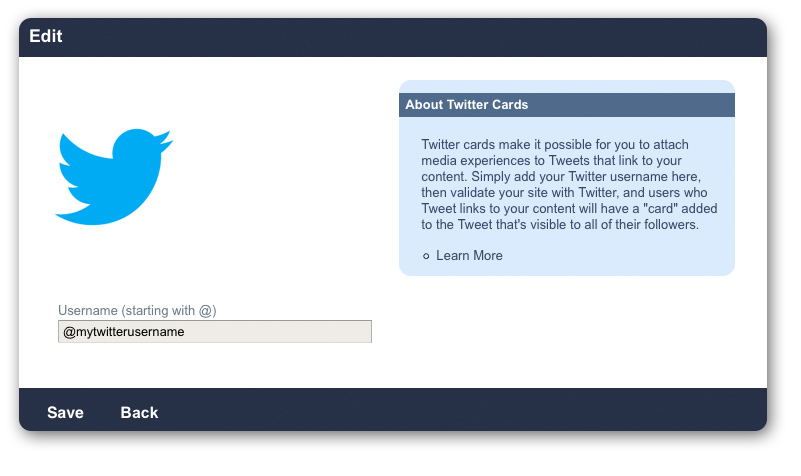
- Loggen Sie sich in Ihrem Metro Publisher Arbeitsbereich als "Admin" ein
- Navigieren Sie zu Drittanbieter > Twitter Cards
- Fügen Sie Ihren Twitter Username ein, z.B.: @meintwitterusername
- Speichern Sie
2. Validieren Sie Ihre Website bei Twitter
Als nächstes müssen Sie Ihre Website bei Twitter authentisieren.
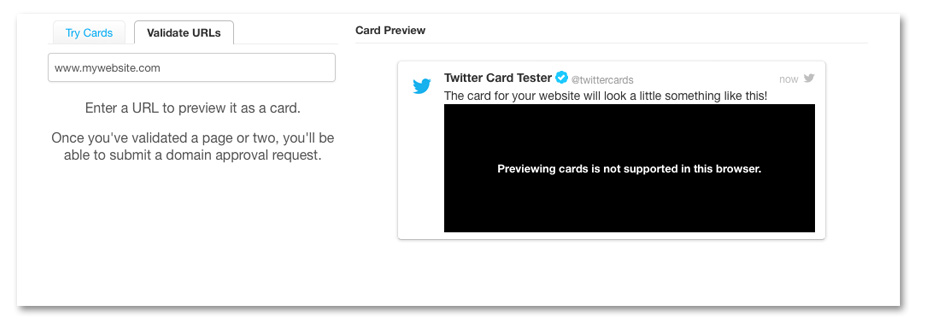
- Navigieren Sie zu https://dev.twitter.com/docs/cards/validation/validator
- Klicken Sie auf den Reiter "Validate URLs"
- Geben Sie Ihre Website URL ein
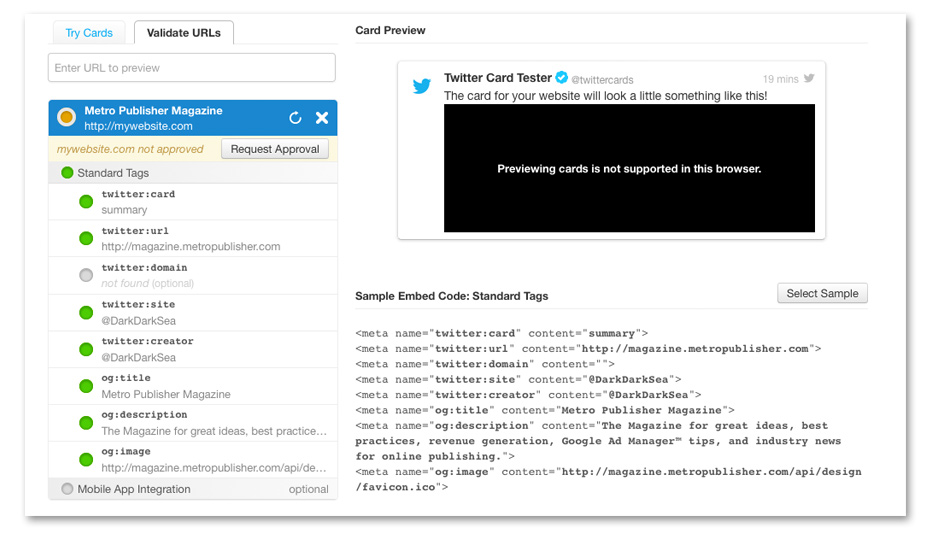
- Klicken Sie auf die Schaltfläche "Request Approval"

- Füllen Sie das Formular aus und senden Sie es ab. Stellen Sie sicher, dass Sie das gesamte Formular ausgefüllt haben! Dazu müssen Sie weiter nach unten scrollen - es gibt weitere Felder auserhalb des sichtbaren Bereichs des Popups!
- Klicken Sie auf "Register Domain."
HINWEIS: Die Authentisierung kann längere Zeit (mehrere Wochen) in Anspruch nehmen. Den meisten Personen wird vorerst diese Nachricht angezeigt:
"Request Received
Thanks for applying to be part of Twitter's cards service. We'll review your request as soon as possible. Expect a few weeks for turn-around time. You will receive an email when your request has been reviewed."
Twitter Card Typen
Twitter erlaubt aktuell 4 Card Typen:
- Summary Card
- Summary Card with großem Bild
- Player Card
- App Card
Bei Metro Publisher können Sie für die meisten Inhaltsarten Twitter Cards nutzen. Summary Cards werden für die meisten Inhaltsarten automatisch erstellt. Player und App Cards können für Artikel, Veranstaltungen, Standortsuchen und Veranstaltungssuchen erstellt werden. Für Standorte gibt es aktuell keine Player und App Card. Hier finden Sie eine Zusammenfassung der unterstützten Cards:
| Inhaltsart | Summary Cards | Player/App Cards |
| Artikel | Ja | Ja |
| Standort | Ja | Nein |
| Veranstaltung | Ja | Ja |
| Standortsuche | Ja | Ja |
| Veranstaltungssuche | Ja | Ja |
| Abschnitte | Ja | Ja (Pro) |
| Pages (HTML) | Ja | Ja |
| Standort Roundup | Ja | Nein |
| Standortrezension | Ja | Nein |
| Themenseite | Ja | Nein |
Allgemeine Einstellungen:
Wenn Sie Ihr Twitterkonto in den allgemeinen Einstellungen bei Metro Publisher eingeben, erstellen wir automatisch Twitter Metadaten Tags innerhalb des HTML Codes für die wichtigsten Inhaltsarten (Artikel, Standorte, Veranstaltungen, Pages, Standor- und Veranstaltungssuchen).
You can insert the specific metadata (meta-title, description, keywords, teaser image) in the corresponding content edit page. This option will enable Twitter to find the Summary Card metadata (simple or with large images).
If you have not activated the Twitter Cards option in 3rd Party Settings, Twitter will try to use the opengraph tags to generate a Summary Card. Thus, if you insert the metadata and opengraph fields for the content, that is the data that will be shown in the Twitter summary card. If you don't specify metadata, the system will use the main fields (ex. title and description).
Additional settings for Player and App cards:
Player and App cards require additional fields (ex. the url for the media resource, or the app download) which need to be inserted manually. You can insert these fields manually into the content.
1. Prepare the twitter code:
This is an example of the code for a Player Card. Here you can check which fields are mandatory and which are optional: Twitter Player Card
<meta name="twitter:card" content="player"/>
<meta name="twitter:creator" content="@myuser"/>
<meta name="twitter:site" content="@myuser"/>
<meta name="twitter:title" content="my title"/>
<meta name="twitter:description" content="my description"/>
<meta name="twitter:image" content="http://testsite/test.jpg"/>
<meta name="twitter:image:alt" content="420"/>
<meta name="twitter:player" content="https://www.youtube.com/myvideo"/>
<meta name="twitter:player:width" content="500"/>
<meta name="twitter:player:height" content="300"/>
Here you can check the sample code for the App Card and verify which fields are mandatory and which are optional:
2. Insert the code in the HTML:
The strategy varies for different content types: Twitter App Card
- HTML pages/templates: you can insert the raw code into the Header field.
- Articles, events, location searches and event searches: you can create an embed inside the content, and paste the code into it.
- Sections: you can create an HTML Sprocket and insert the code there.
- If you are a Pro user, you can activate the 'Header field for content' in the admin content settings tab and insert the code there (for articles and sections only).
3. Validate the card:
Use the Twitter Card Validator (https://cards-dev.twitter.com/validator) to make sure that the card is correct and is showing what you expect.
Kommentare